* This is part of our 2017 Renovation Series
We have Updated our Headboards with new fabric! Check out the new look here: https://www.argosytraveling.com/2020/05/24/airstream-argosy-headboards/
We have Updated
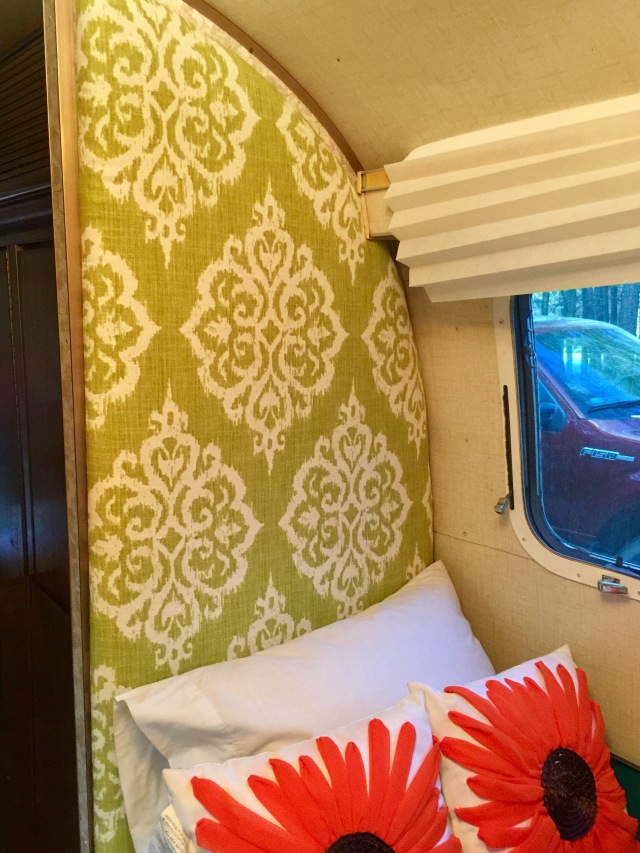
Our New Headboard in our Airstream Argosy
A quick and easy low cost update to your Vintage RV / Camper / Trailer.
Original Airstream Argosy Headboard Wall
At first, I loved the original wallpaper wall that came with our 1977 Argosy by Airstream. I am trying to keep the originality so keeping this wallpaper wall was an easy decision. After camping several times, we quickly realized a problem with this wall. It is not sturdy. It moves a lot when leaning against it.
We knew we would have to strengthen the headboard walls which meant a high probability of the original wallpaper getting covered up.
After discussing a few options, we decided to make new headboards and install over the existing wallpaper wall.
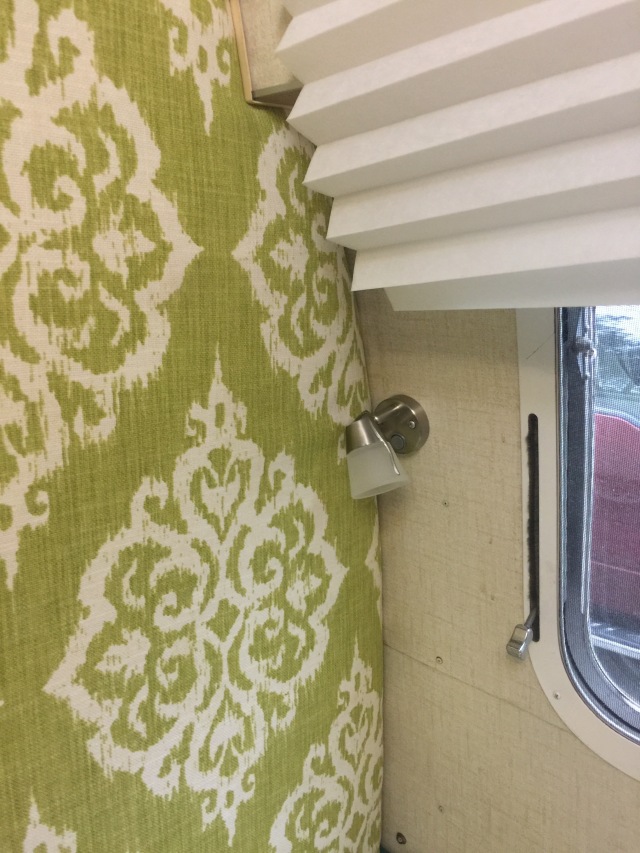
New LED night lights
Step-By-Step Instructions:
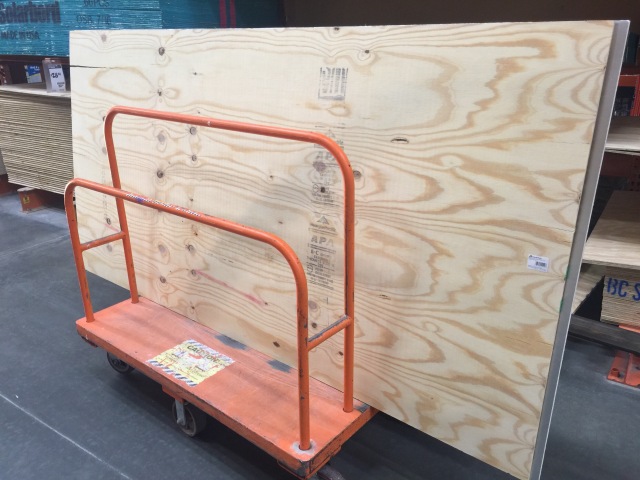
1. Buy a decent quality, non-warped sheet of plywood
4×8 Sheet of Plywood
We bought one 4×8 Sheet of Plywood from Home Depot. It did take a couple of minutes to sort through the stack to find the perfect one.
Under $20 for the Sheet of Plywood.
2. Buy upholstery project foam, batting and fabric to cover your new headboard.
Decision Time! We picked #5
3. Make the cardboard template of the walls. This is optional but makes the process quicker than doing tons of crazy measurements.
Template from the 1st wall. Both walls are a different size.
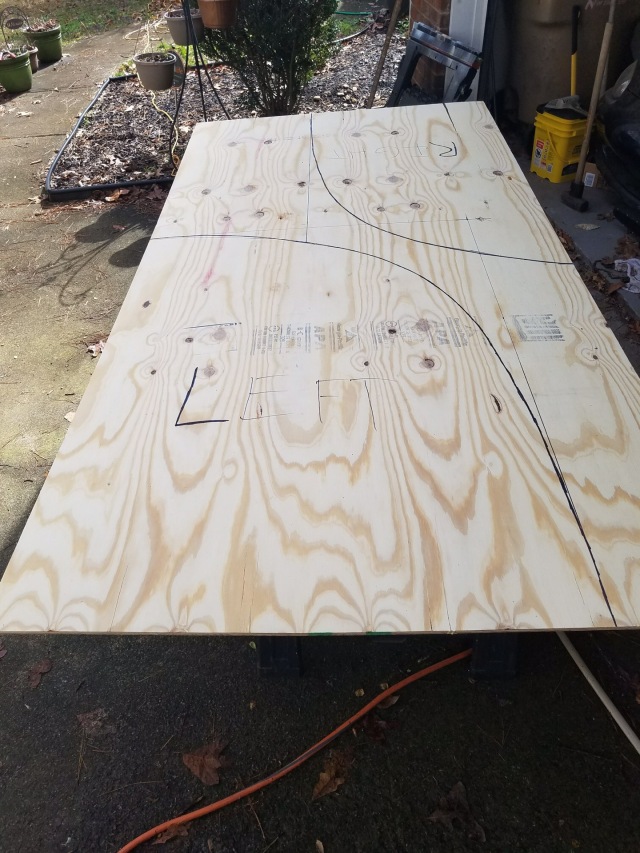
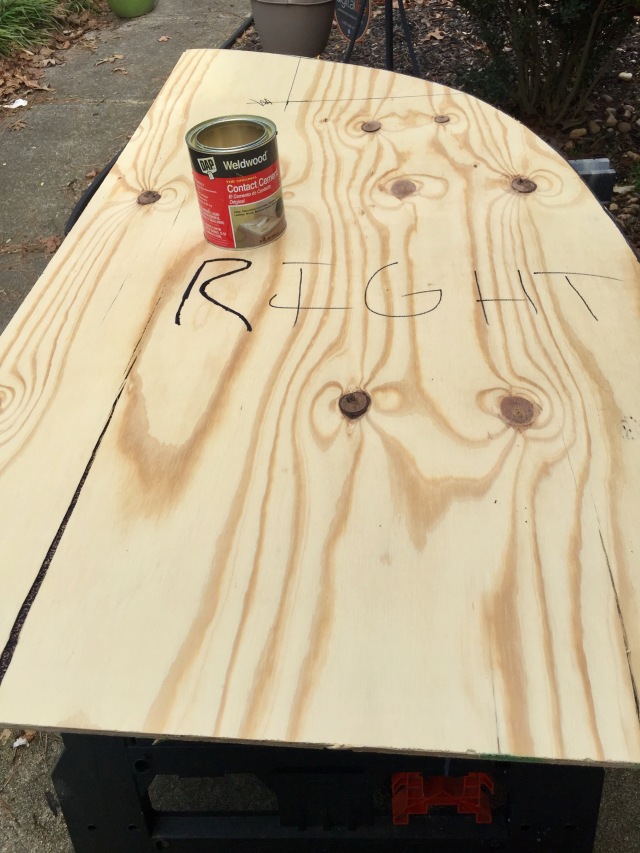
4. Trace your templates on your 4×8 Plywood and cut them out.
If a typical Airstream / Argosy, one sheet of plywood should do it!
5. Put Contact Cement or Spray Adhesive on your board. Work fast because it dries super fast!! Two people would be great at this task!
We used Contact Cement because we already had an open can of it.
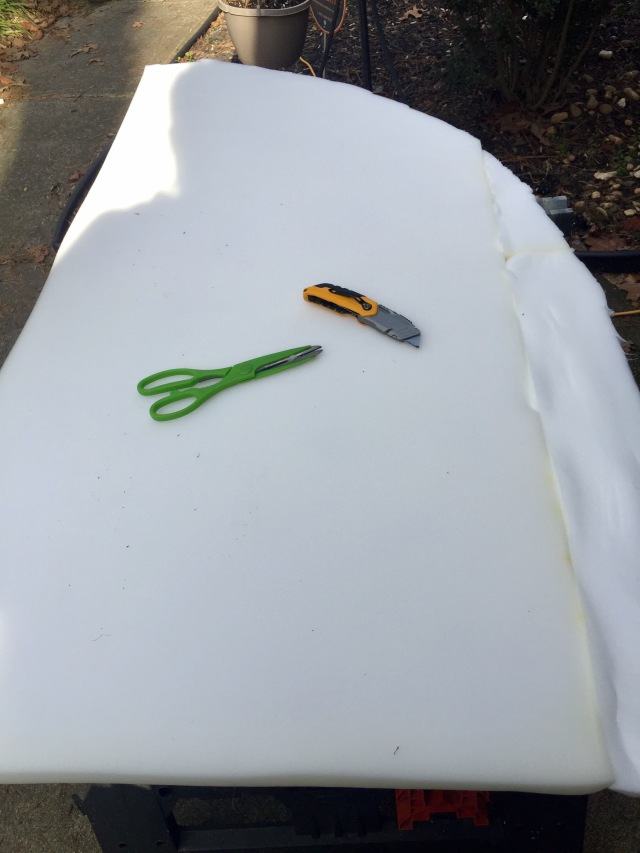
6. Place your foam, firmly, on the glued board. Again, work fast so it doesn’t dry up!
One roll of foam per board. Save the extra scraps in case you need them later.
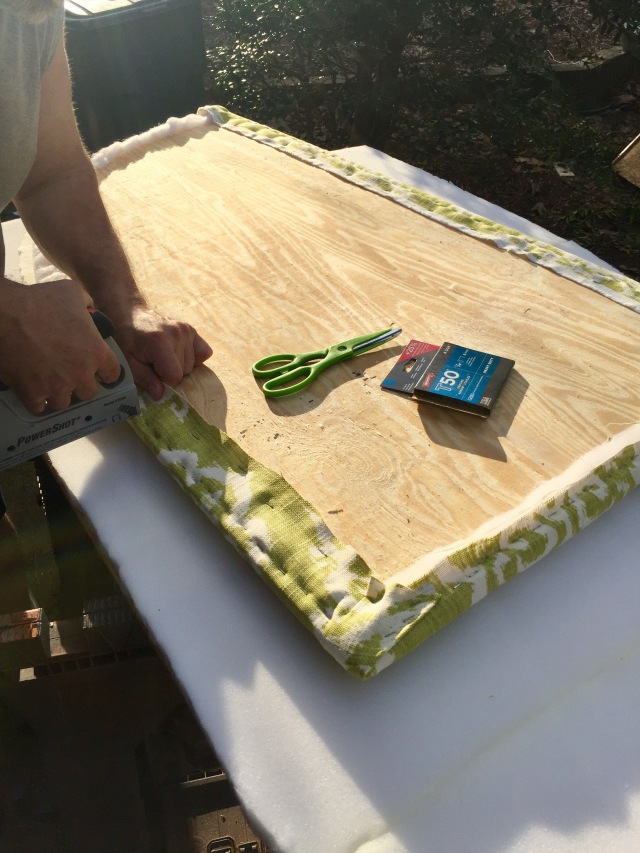
7. Staple down your batting. You do need both the foam and batting for comfort and appearance. I tried to skip the foam, it looked stupid. Same without the batting.
Use plenty of staples on the batting!
8. Staple down your fabric. Try to go for a consistent look across both headboards even though they are different sizes.
Working before Sunset! Buy 4 yards of good quality upholstery fabric.
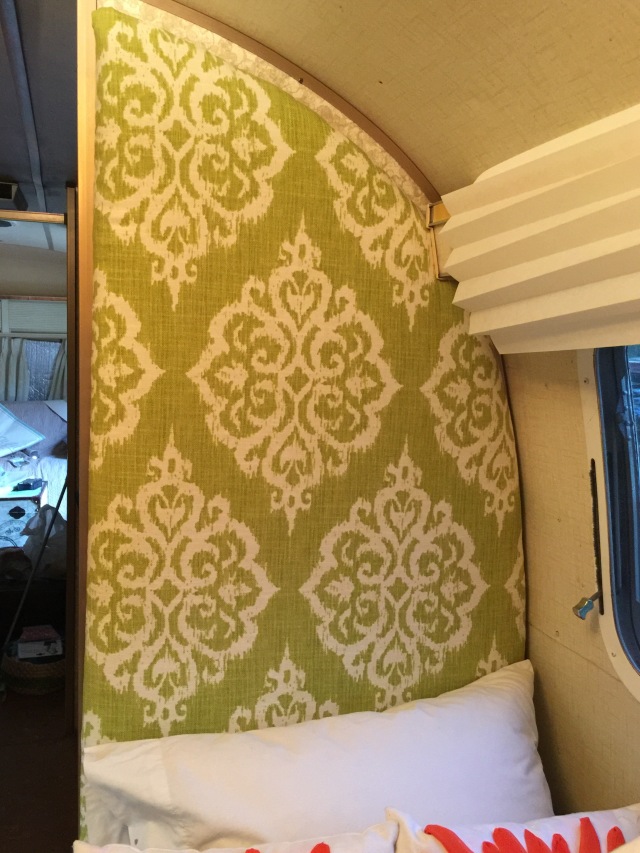
9. Install your board! We decided to install with rivets because we might want to change up the fabric in the future. We could have installed the original nightlight on this headboard but have decided to wait. Although I love the original nightlight, I can’t bring myself to install it over this pretty Headboard. Also, that nightlight gets super hot
Almost finished! Still need to attach to the existing wall.
Our new Headboard, Pin Up Wall, and Bathroom Barn Door

Update your curtains too!

Sourcing:
4×8 Sheet of Plywood from Home Depot
1″ Upholstery Project Foam from Walmart. Tip: If your Walmart has a fabric dept, buy locally vs Online. It’s faster! You only need 1″ thick. Any thicker and the headboard will stick out too far. We used two rolls.
Cushion Batting from Joann Fabrics. One roll worked for us when used as a single layer.
Upholstery Fabric (ours is Covington’s “Taj”) from Joann Fabrics. We needed 3 1/2 yards for a typical Vintage Airstream.
Spray Adhesive or Contact Cement
Nail Gun filled with Nails
Optional: Extra Large Cardboard for template. A moving box from Uhaul works great!
NOTE: I did not receive free products on this post to blog. Everything you see here, we paid for ourselves.


